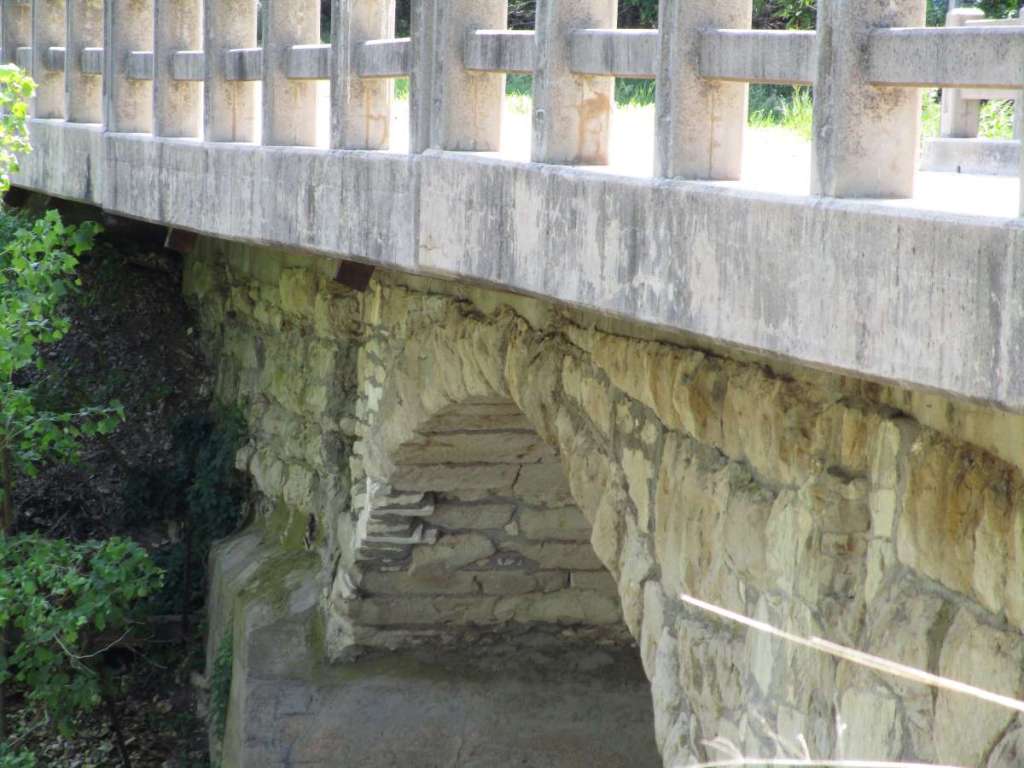
To patch damaged masonry a little understanding of the forces at play is very helpful, as we discussed in last week’s post. With that understanding it becomes clearer how to execute repairs without bringing down the whole structure on your head. Patching a masonry section in place is dangerous, unless the structure be quite small, so care is required for this work, and it is best left to professional hands.
What to Keep and What to Replace
Stones blatantly dislodged are best removed and replaced. An exception would be if their removal would compromise a large portion of the structure. In these cases, judicious trimming and working around the dislodged stone would be safer.
Cracked stones are not necessarily a serious problem. However, totally crumbling stones really ought to be replaced. Where this is not possible there are various adhesive methods that can be used to “glue” the stone together, but it must be understood that this method has its limitations, especially on a very damaged stone.
Where stones are missing altogether, it is important to see if the ones above them are very loose. If they are, it is ideal to relay them. However, it may be best to wait on removing and relaying these stones until the layers below are completed.
In all cases care must be taken to ensure that the stability of the masonry above is not compromised. It is important to do this type of work piecemeal, as this is far safer.
Cutting out Stones
Removing the damaged stones is done with a hammer and chisel. A bricklayer’s hammer is helpful too. The mortar surrounding a stone is cut out, and then the stone is carefully pried out, being gently worked loose with a rocking motion where possible. During this operation close attention must be paid to the surrounding masonry. If signs of damage like cracks to the surrounding masonry appear the stone removal must stop until everything is braced and stabilized sufficiently to allow the removal to continue.
Laying the Stones
To lay a stone in an existing gap, you start by laying a bed of mortar on the bottoms and sides of the opening. Some thin mortar will need to be placed in the back of the opening, assuming there is a layer of stone behind the gap being filled in. The bottom bed of mortar should be relatively soft, while the side beds will need to be stiffer. If necessary skip laying the side beds of mortar altogether and add it later. The stone to be placed is then coated with a layer of soft mortar on top and then it is worked into the hole. Some mortar will squeeze out; the surfaces of the stones will need to be cleaned later once the mortar is just dry enough to be crumbly but not set up. Using your trowel or your gloved fingers start packing stiffer mortar into the joints to fill in all crevices. For stonework stone shims can be shoved in now; not only will this help pack the mortar in, it will allow some physical contact between the stone being set and the surrounding masonry, making a much stronger structure than would be the case if only mortar were used in the gaps.

The final consideration is to ensure the mortar sets up strongly. This is done by watering down the mortar joints regularly for a couple of days. Of course, the mortar needs to be set enough that it won’t wash out before wetting masonry for the first time.
