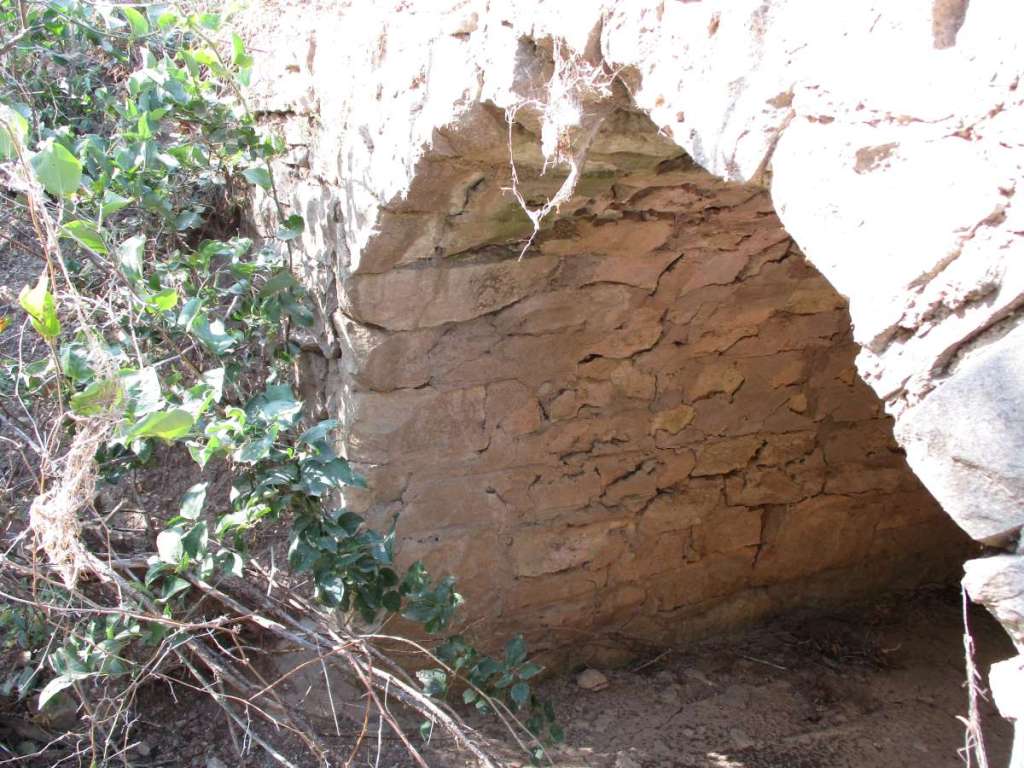
Stone arch bridges built of rubble masonry are an excellent choice for the DIY builder. One aspect to consider, however, is how the arch is grouted.
Why the Arch is Grouted
The arch of a rubble arch bridge does not strictly have to be grouted, but the use of grout to fill the gaps between the stones is the common practice. For one thing, laying the stones dry allows for a better overall fit; then the grout is poured to fill all remaining gaps. A good builder will also add stone fragments into the gaps, resulting in better durability and saving somewhat on the mortar. If the arch were laid with stiff mortar initially, the stones could not fit as tightly since the mortar would tend to prevent contact between the stones, being to hard to squeeze out. It would also be hard to add very many stone chips into the joints, resulting in an overall weaker arch that uses more mortar.

For another thing, laying the top arch stones in mortar is a little challenging, as the stones in a rubble arch usually are thin and are placed on end. The result? The stones tend to fall over before the mortar is set leading to difficulty and a mess. In the end, the use of grout creates a better overall structure, as it makes it easier to lay a tight arch and still use mortar to fill in all gaps. To keep the mortar from pouring straight through the arch the form needs to be made watertight in some fashion, or the ends of the stones laid in a thin bed of soft mortar that will set up and plug the gaps, allowing the mortar to be poured in later without it running right out again.

The Roman Arch Problem
One obvious problem with grouting an arch that is often overlooked involves Roman arches. It is easy to pour grout into the top stones of an arch; but how do you pour a liquid mortar solution into the horizontal joints at the base of a Roman arch? The answer is you don’t. The best solution here is to make your mortar a little thicker than grout, but not so thick that it can’t be worked into the joints. In other words, the mortar needs to be as thin as possible while still being able to somewhat retain its shape.
A Roman arch can be grouted all at once, using thinner mortar in the top and thicker at the base, but an easier way is to build the first 30 degrees of the arch from each abutment with the mortar in place at the beginning. This is done by placing a thick layer of relatively thin mortar down, then placing the arch stone in it, working the end of the stone against the arch form down as far as it will go, while lifting the opposite end up to the desired angle. Next, stone pieces are shoved into the mortar until the arch stone is stable. The mortar forced out can be saved and reused. It is worth pointing out that the first 30 – 45 degrees of a Roman arch actually acts more like a curved extension of an abutment than a true piece of an arch.
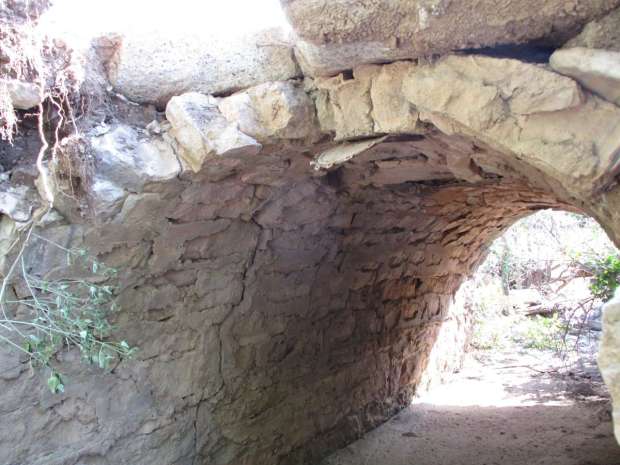
Even if the top of an arch were to be removed, this bottom curved piece will still stand, cantilevered out from the abutment.
