
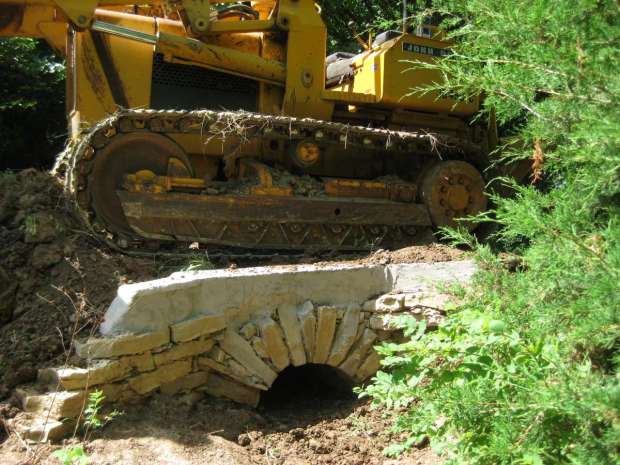
Building an arch of rubble masonry is a great DIY project, as rubble masonry is easy to build and, even if mortarless, can be built durable enough to last for centuries, and carry cars or even the occasional bulldozer.
Arch Width and Stone Size
The beauty of rubble masonry is how simply it can fit together using a wide variety of sizes and shapes of stones. However, for optimal stability, a rubble arch should use reasonably regular stones that have adequate thickness that only one or at most two layers are needed to achieve the total arch thickness. It is possible to use more layers than this, but to ensure durability it is always best to build a single-ringed arch if it can be done.

The Shape of the Stones
The arch stones need not be rectangles, though rectangular blocks are easier to work with. The key is to place the stones such that they interlock to fill in the gaps between stones of a given masonry course while ensuring the thickest part of the stones is up and the thinnest part down on the form. Almost all stones are wedge-shaped to some degree; so the key is to use this natural wedge to advantage. Very triangularly shaped stones are rare but can be found, but these are best saved for skewbacks rather than actual arch stones.

Making the Angles
The angles of most rubble arches are not perfect. There will often be gaps between the stones at the top, especially for smaller spans. These gaps are usually filled in with small stones and mortar. Breaking up some of the less-usable stones is a great way to obtain these stone fragments. Do not underestimate the use of stone fragments, so save them as you find them. Their use strengthens the arch and reduces the amount of mortar needed.

