We recently completed a stone arch bridge at Camp Quaker Haven, a Christian retreat located just outside Arkansas City, Cowley County, Kansas. This bridge replaced a shaky wooden bridge and was built using traditional techniques such as were used in Cowley over a hundred years ago. This is the second post in the series about building this bridge.
The First Stones
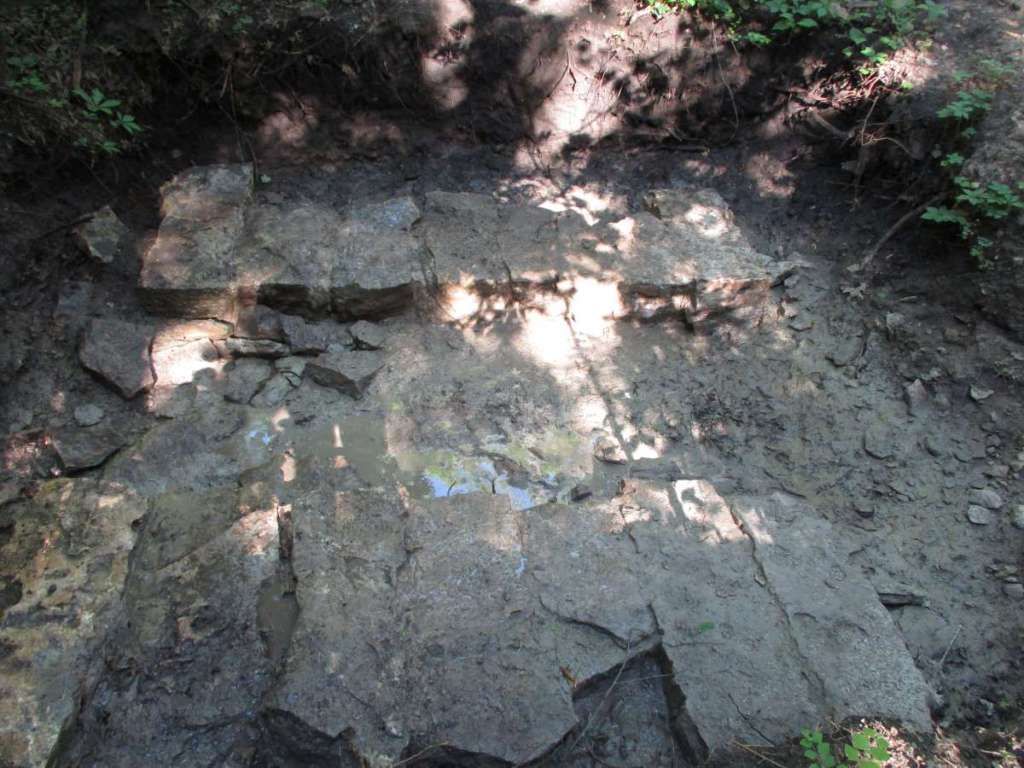
The first stones for the bridge were laid April 15, 2025. The foundation hole was finished with an excavator, then the excavator was used to lower huge slabs of stone down into the hole. The first course of masonry for the foundations simply consisted of two parallel rows of stones placed perpendicular to the span of the bridge. This allowed a shelf to place the arch form on, and created a simple spread footing for the bridge. The gaps around the stones were plugged with mud, all joints on the vertical faces pointed up with mortar, and then grout poured into the horizontal joints. One noteworthy advantage of grouting the stones this way was that grout could seep into the cavities under the foundation stones, filling in gaps.
The Next Course
The next course of stone was placed parallel to the span, and bridged the large foundation stones, helping to ensure a good, solid base for the arch. This course we built using our preferred methods of masonry. First, we placed a batch of mortar the consistency of oatmeal; this is thinner than what is used in brickwork. Next, we placed the stone, scraping up extra mortar squeezed out. After this we shimmed up the stone with mortar chips pressed into the mortar; this is like what is done in mortarless work, and keeps the stone from rocking and is stronger and more durable than just using the mortar alone. For the joints between two stones, we pointed the vertical joints, then grouted and used stone chips to fill in the horizontal gaps. This allows for full mortar coverage between stones.

The First Scour Barrier
A preliminary scour barrier was added early on. The bridge is located at the base of a steep hill, and we quickly observed that water flows in fast torrents down the hill when it rains, which was a harbinger of things to come. The first scour barrier was composed of rocks sunk into the mud between the two foundations for the arch, then covered with another layer of thin, flat stones for full protection. This barrier proved invaluable in the days ahead as the ground under the bridge consists of decayed limestone; solid under compression, but which can be picked away at by high-velocity water.
Preparing for the Arch
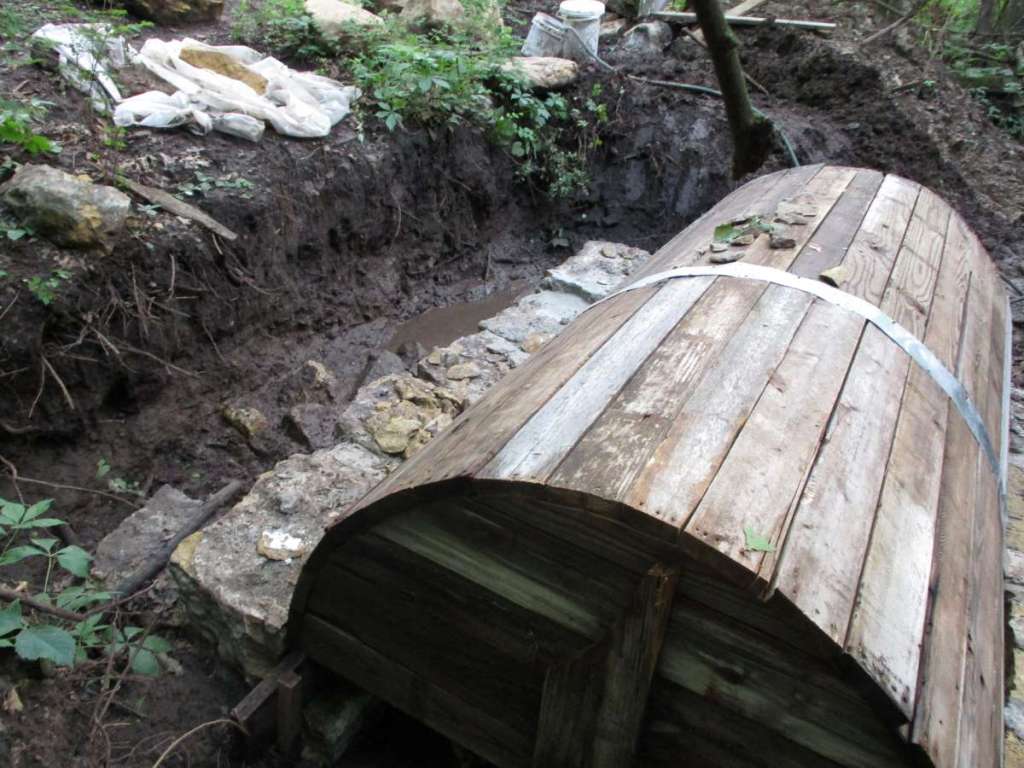
Once the foundations were finished, and one abutment finished, it was time for the arch forms. The two forms were placed on the shelf created by the bottom foundation stones. To support the form and to facilitate removal, boards propped up on end were used on one side; the other side used a stack of thin boards to make leveling up easier. The forms were positioned on the foundations, leveled up, and the gap between them closed with metal flashing. The next step was to finish the other abutment; the arch forms provided a reference point guaranteeing the two abutments were spaced correctly relative to each other. Once the other abutment was completed, the arch was ready to be built.
The story is continued in Part 3.
For the previous post on this bridge, see Part 1.
