We recently completed a stone arch bridge at Camp Quaker Haven, a Christian retreat located just outside Arkansas City, Cowley County, Kansas. This bridge replaced a shaky wooden bridge and was built using traditional masonry techniques such as were used in Cowley over a hundred years ago. This is the third post in the series about building this bridge.
Beginning the Arch
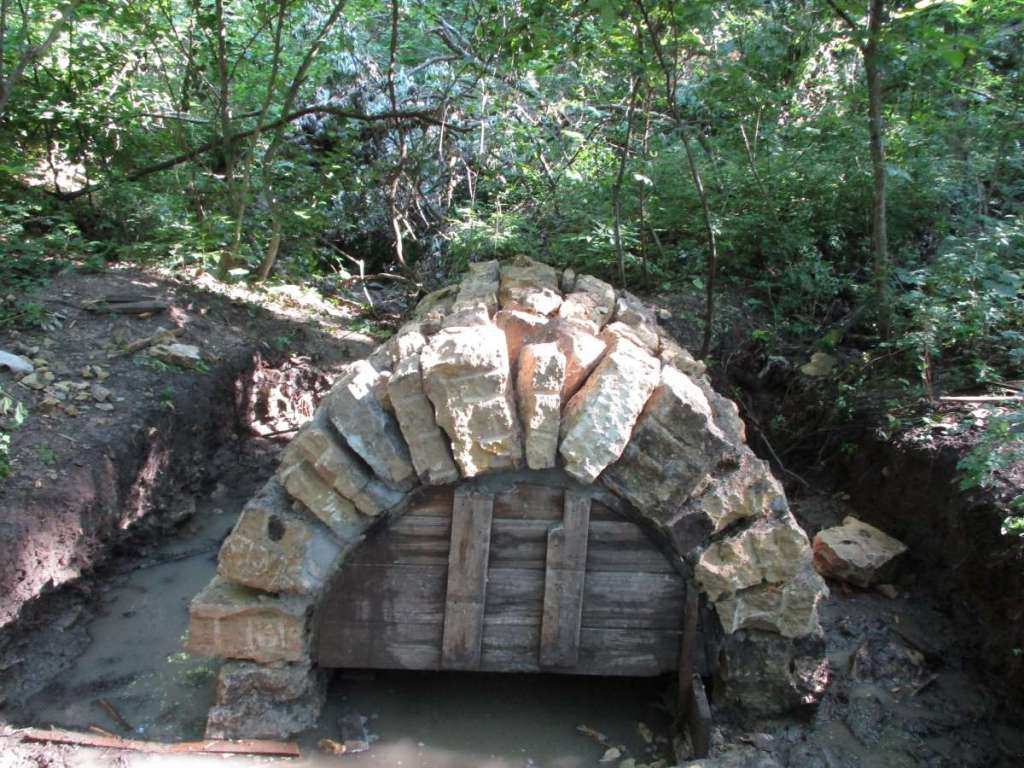
The arch of the new stone bridge at Camp Quaker Haven is a 5-foot-span, 9-foot-wide Roman arch. The arch thickness is 15 inches. This thickness was determined by a new rule of thumb we have been dabbling with that is based off of the natural log. Arches this thick are incredibly strong, and aesthetically pleasing to the eye.
The arch of the bridge was built in the classic rubble masonry fashion. We used the basic design used 100+ years ago by Walter Sharp, who built most of Cowley County’s stone bridges. In a metaphoric description of his writing, Walter Sharp succinctly outlined how he built his bridges. This is substantially the same method used in the Camp Quaker Haven Bridge:
Walter Sharp, “A Story About Bridges,” The Winfield Daily Courier, May 9, 1922.
“…I have in my story to the people of Cowley county gone to the bed rock for a foundation and am now to low water level. As the story progresses we will quarry the rock that makes the arch ring, dress it, hitch the derrick on it (which is the press), swing it to its place in the arch ring, then I will put in the key stone, then the county board will come out and see that the arch ring is grouted with a rich mixture, then we will build the wing walls and between the wing walls fill with that old fence Jones was glad to get out of the way and on top of that put [a coating] of river gravel. This bridge will then be completed and ready for acceptance.”
Camp Quaker Haven’s outstanding staff helped considerably during the laying of the arch. They took readily to the traditional methods used. They took to the work so readily, in fact, that staff members were soon teaching other staff members the work. In one notable instance, the staff taught a friend of theirs who was there for summer camp how to cut rock. Soon she was successfully using feathers and wedges to cut our stones!
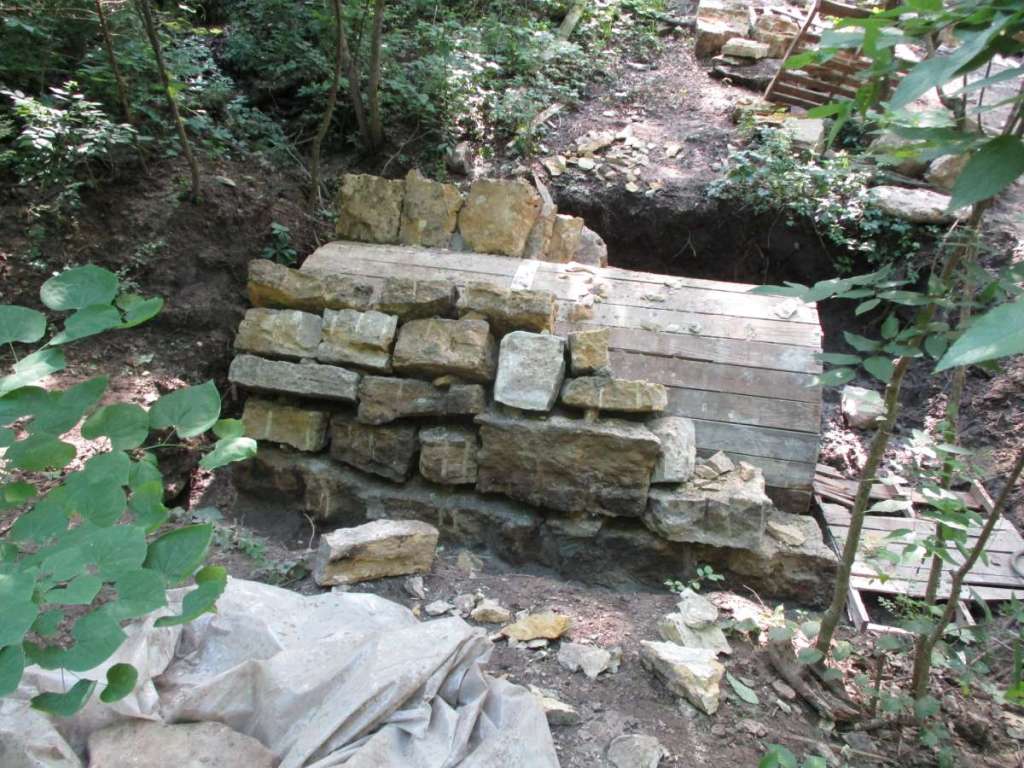
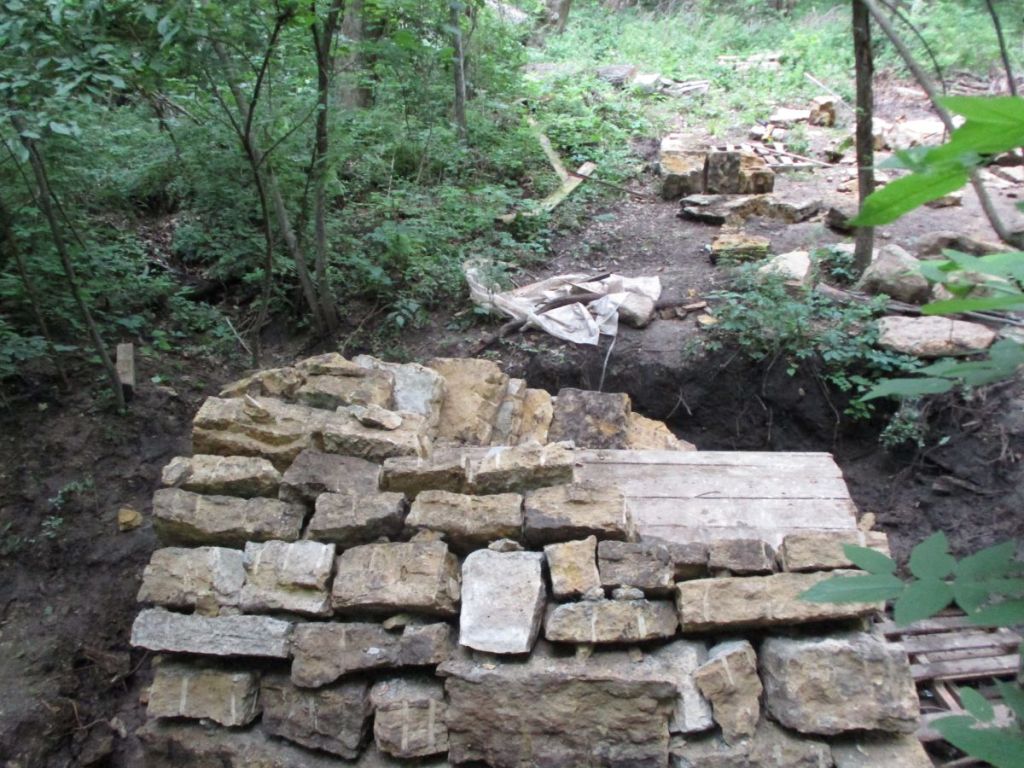
Whenever several members of the camp staff were available, we kept the construction of the two half arches going simultaneously as we steadily built up towards the middle.
Building the Arch
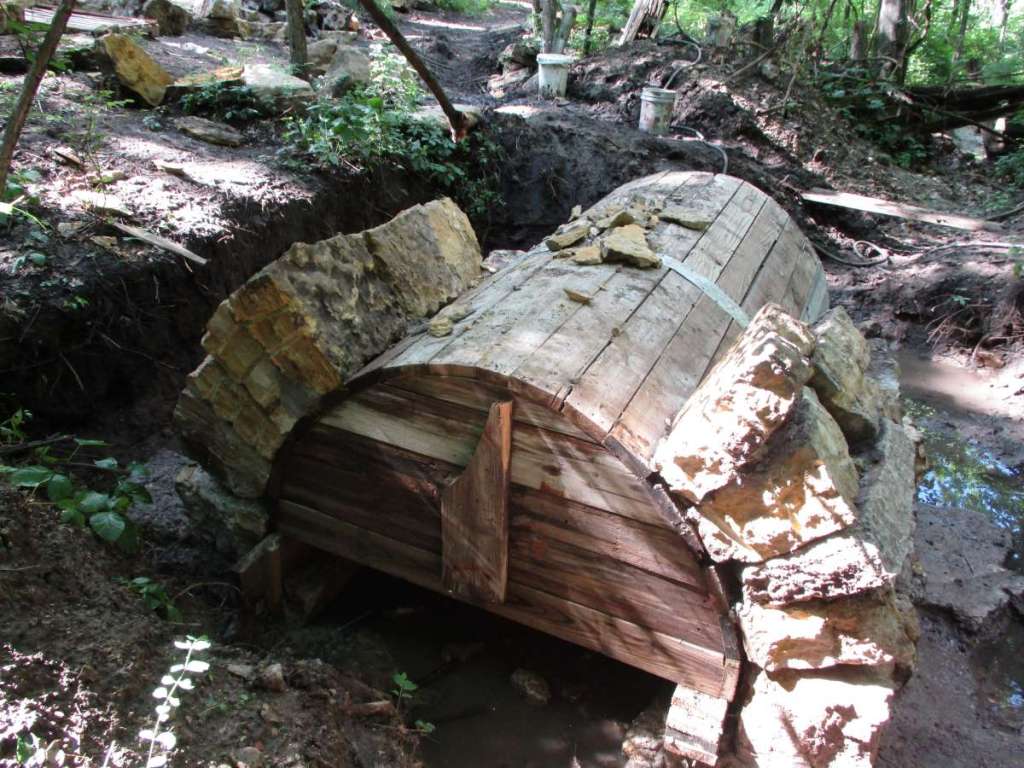
The arch stones were primarily dressed using feathers and wedges, but we used chisels to fine trim where needed. Praying over every stone gave the builders Divine wisdom to find stones with a good initial fit; all art forms are God-given gifts, and going to the Source of wisdom will make a noticeable difference in the quality of the work! This principle is told in Exodus 35:30 through 36:1.
We did not use a derrick like Walter Sharp to lay the arch; we used good, old-fashioned hand lifting! The arch stones range in weight from only a few pounds up to around the 600-pound range. We built the upstream end of the arch up first in a stairstep fashion, and then placed the keystone. All stones (except for most of the keystones; more on that later) were placed in a shallow bed of mortar. This mortar was to hold the grout into the joints when the time came. The keystones were pounded in with a sledgehammer, using a board between the stone and hammer to prevent damage to the rock.

To help stabilize the arch as we built along, we added keystones as we went, and soon the last keystone was pounded into place. The last keystone lifted the arch slightly, causing the arch to vibrate as a single, cohesive unit. The arch was closed and ready for the grouting!
Preparing for the Grouting
Before the arch was grouted, the joints were cleaned with high-pressure water and the face joints were pointed up with mortar. Mortar was placed into the gaps between the arch form and the arch soffit to prevent the mortar from running out. We had started laying the keystones dry, as it quickly became apparent that the mortar placed on their tips was not helping; it was simply not covering the joints all the way when the large keystones were pounded in. The form was waterproofed already by the clay, which fell off the arch stones and became jammed into all the nooks and crannies.
The Grouting of the Arch
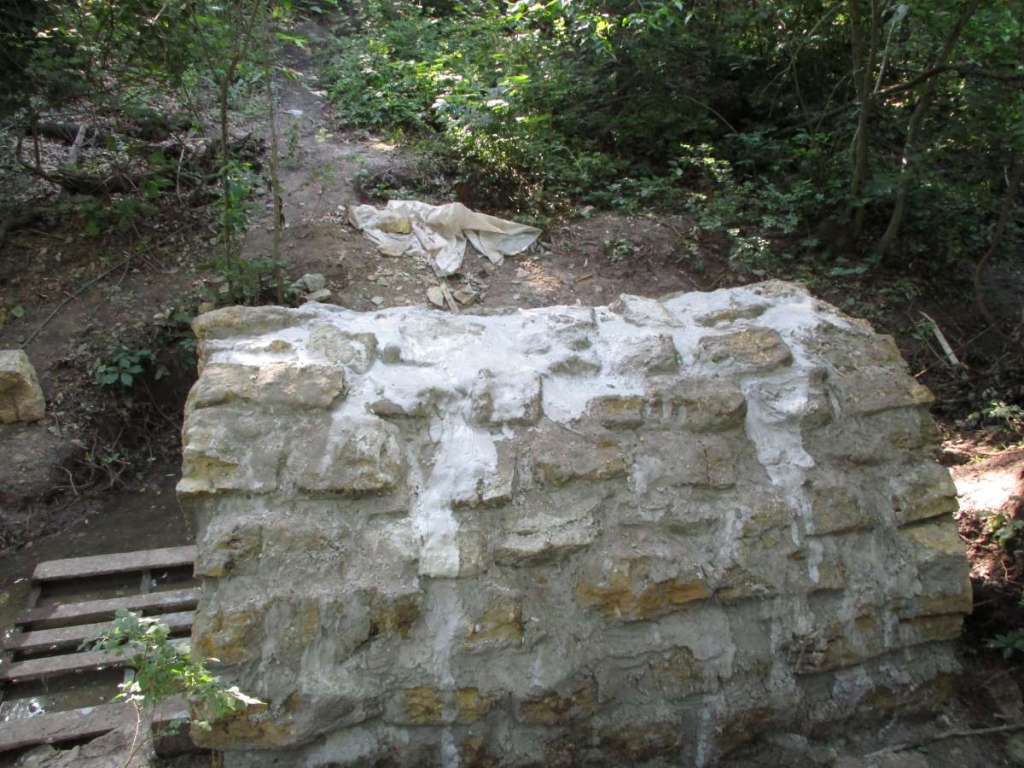
Prior to the grouting, some of the camp staff dug out an old cement mixer, got it working, and soon were using that to mix large batches of grout. The camp staff helped extensively during the grouting, and thanks to their efforts, the grouting only took two days. To grout the more horizontal joints of the arch, stiffer batches of grout were mixed, and the grout was pressed and ladled into the joints, accompanied by stone fragments and shims obtained at the bluff where the stones were quarried.
The job became easier as we neared the top of the arch. The grout could here be made runny and simply poured into the joints. Shims were pressed in tightly here as well; the stone shims in the arch save on the grout and significantly strengthen the arch and ensure long-term durability by eliminating reliance on the mortar.
The grout for the keystones was poured last, and the last of the nooks and crannies filled in. This work was done on a Saturday, and the bridge allowed to rest Sunday. By Monday, the grout was set and the arch forms were ready to be removed!
For the final part of the story, see Part 4.
For the previous post on this bridge, see Part 2.
