
The bricklayer’s hammer is probably the best single cutting tool available for working with stone. With this hammer, you can trim rocks neatly and easily. This tool is not just for quick, crude trimming either. With this tool you can trim stones to tight masonry joints and even cut wedges for arch building. For most constructions, hammer cutting is more than sufficient; it is far easier and faster to use than chisels and gives outstanding results.
Getting Prepared
There are two main skills required to hammer cut stone well. The first comes with practice and consists of striking the stone where you intend to! If you are new to using the bricklayer’s hammer, try practicing on a few scrap pieces of stone until you hit consistently where you aim. The other skill is determining which end of the hammer to strike with. And be sure to wear protective eye gear. Good thick gloves are strongly recommended, especially on any and all hands that are actually holding the rock being cut! The hammer can cut stone, after all, and fingers are much softer than stone….
The Basic Cuts
As it happens each end of the bricklayer’s hammer has its own use for cutting. As a broad rule of thumb, a basic cut is usually first made with the chisel end of the hammer. For basic cuts, set the stone so you are striking on a thick end and then keep striking along the same line until the stone splits. If (as often happens) a large chunk of stone which, unfortunately, does not go all the way through splits off, turn over the stone and repeat the process from the other side. Often there are protrusions left along the cut. Knock these off with the blunt end of the hammer. For fine trimming and further smoothing, use the chisel end of the hammer to flake off protruding pieces of stone. If the stone being removed is a sloped piece, use the blunt end of the hammer to essentially convert it to a series of fairly square protruding pieces of stone that can be either chopped off with the chisel end or knocked off with the blunt end. Which end to use varies, but will become clear with practice. The key to all this cutting is learning what angle to attack the rock from. Initial cuts are done straight down along the desired line of cut; all fine tuning is almost always done coming in at an angle.
If you are not making much progress on a rock, or have to strike very hard to cut it, you need to switch to a larger, heavier hammer. A large stonecutting hammer can be used but a basic peen hammer in our experience can achieve excellent results in its own right.
Practical Examples
Here is a series of photos showing cutting a stone with a bricklayer’s hammer in action. Be aware that your mileage may very. The rock we use comes in relatively thin slabs of unusually hard, crystalline limestone.
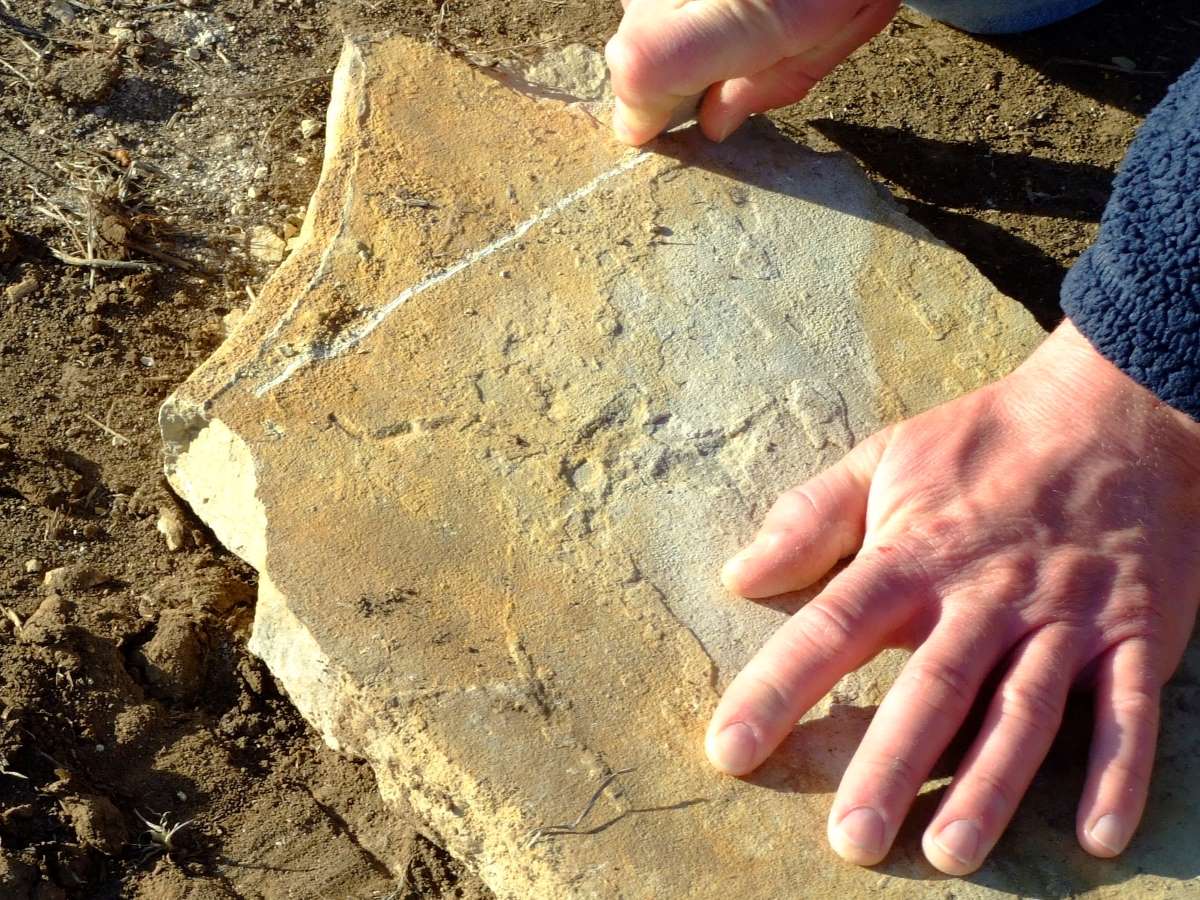
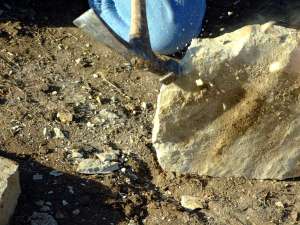
The first step in cutting stone is to determine where you want to cut and mark the spot as needed. On the stone showed we decided to use the hammer to square off one end.
Now set the stone on end and use the chisel end of the bricklayer’s hammer to begin the cut along the desired line.
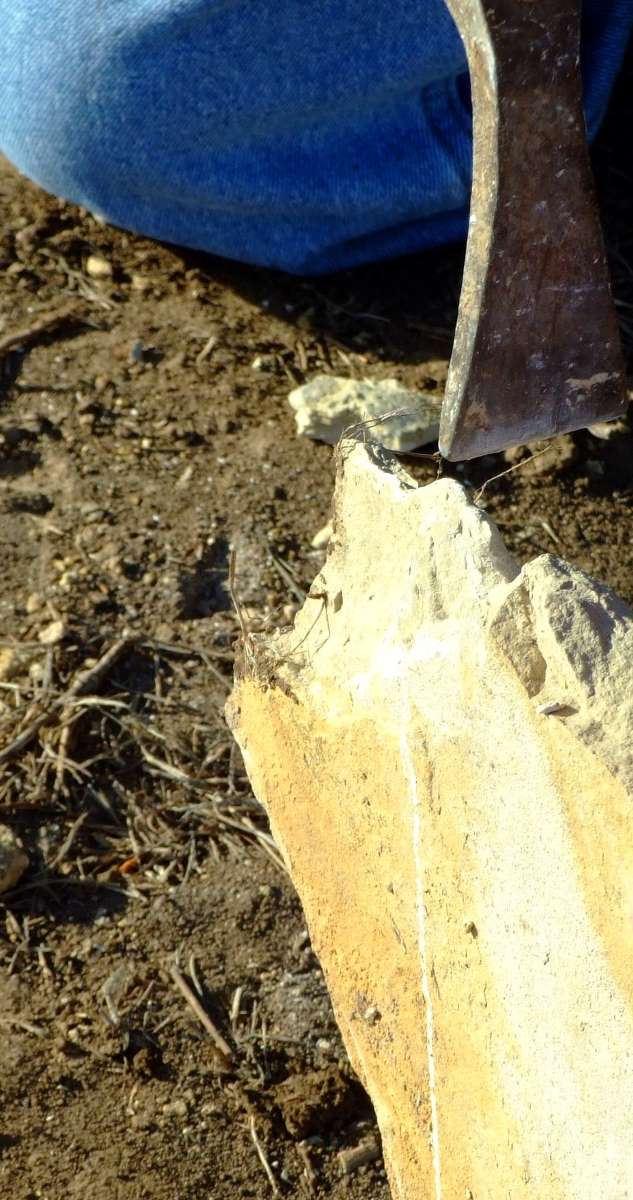
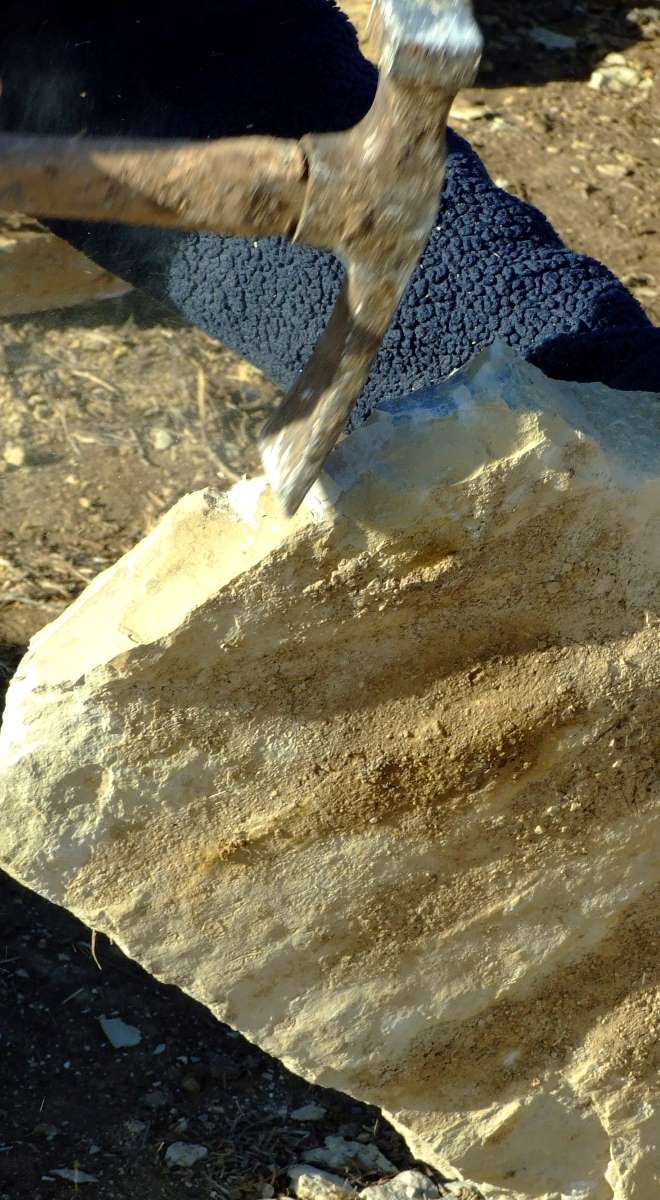
Now in this case, the stone did not split before a deep notch had been cut. To make cutting easier, we knocked off some of the stone on one side of the notch; obviously when doing this only remove stone from the side of the rock being discarded anyway.
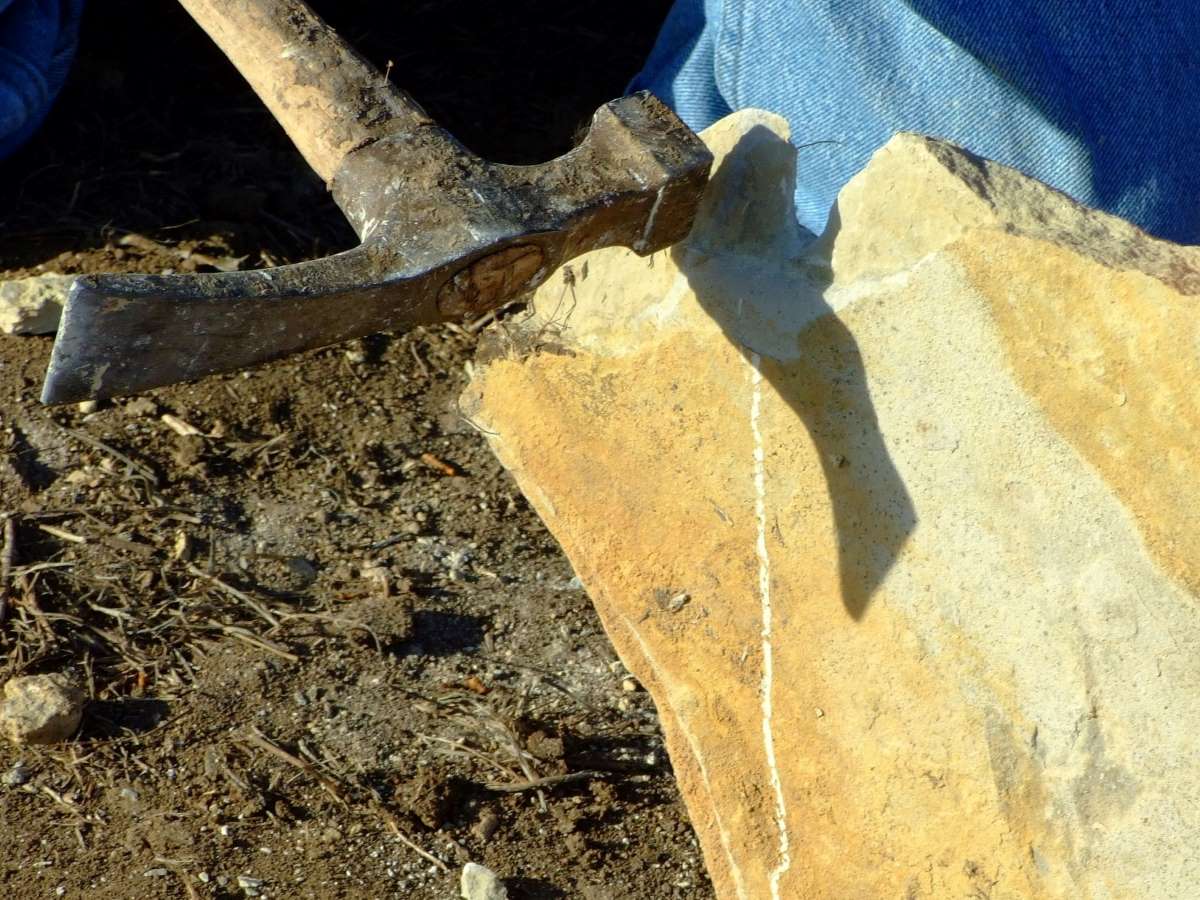
Continue cutting. After cutting, the stone split along the line with a large part on the opposite side from where we were cutting protruding still beyond the desired line of cut.
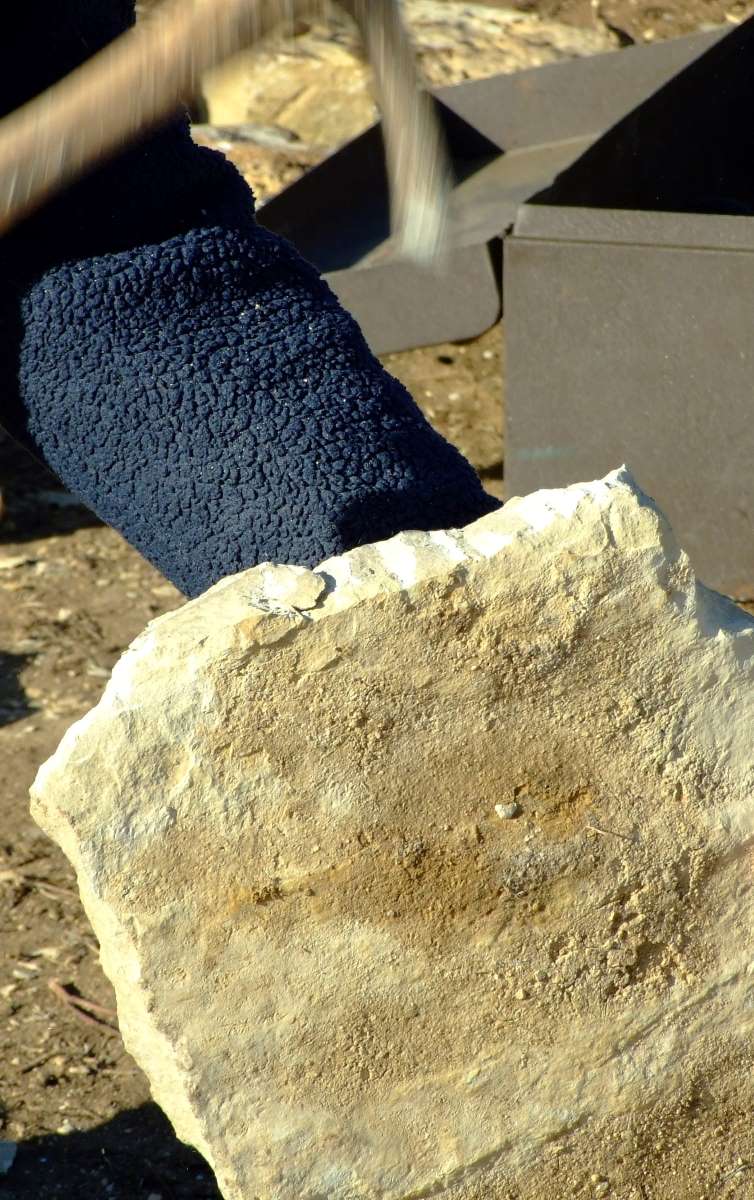
Now in this case the angle of the stone along the cut line is too sloped for us to reliably cut it with the chisel. Hence, we used the blunt end of the hammer to begin converting the slope into a series of saw-teeth.
After some trimming the stone with the blunt end of the hammer, we switched to using the chisel end to smooth out all the indentations in the rock.
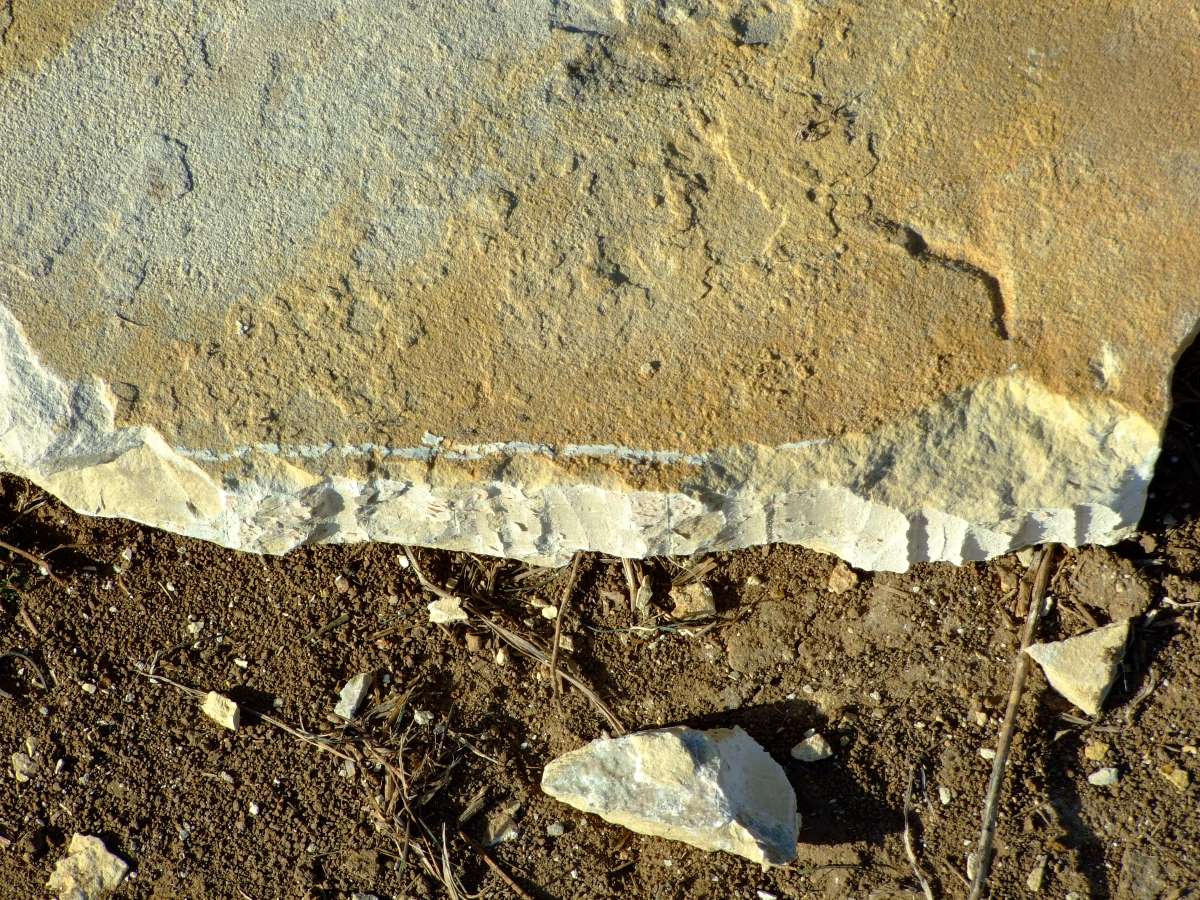
Here is the stone after more tooling. Note that there is a chip in the left side of the rock that appeared after some more working. This is not serious enough to cause a problem in construction. If it was a concern, the cut could be started over again further back beyond the chip. However, when the stone starts chipping in strange places like this, it is a sign that it is being overworked and may shatter if tooled further. To prevent excessive tooling, cut as little as possible and angle the hammer so that less force is applied into the rock. Also, be aware that the chisel end, though less able to smooth drastic surface imperfections, is less likely to shatter the stone. Trial fit often, for it is very unlikely your initial cut line marked at the beginning is exactly correct, and it may be found slight imperfections in shape may actually allow the stones to fit tighter together!

While we probably could’ve stopped at the last step, we decided to go for a smoother finish on this stone. This was done with the chisel end of the hammer to flake off pieces of rock on the surface. Hold the hammer such that the blade is fairly parallel to the line of cut when it strikes the stone.
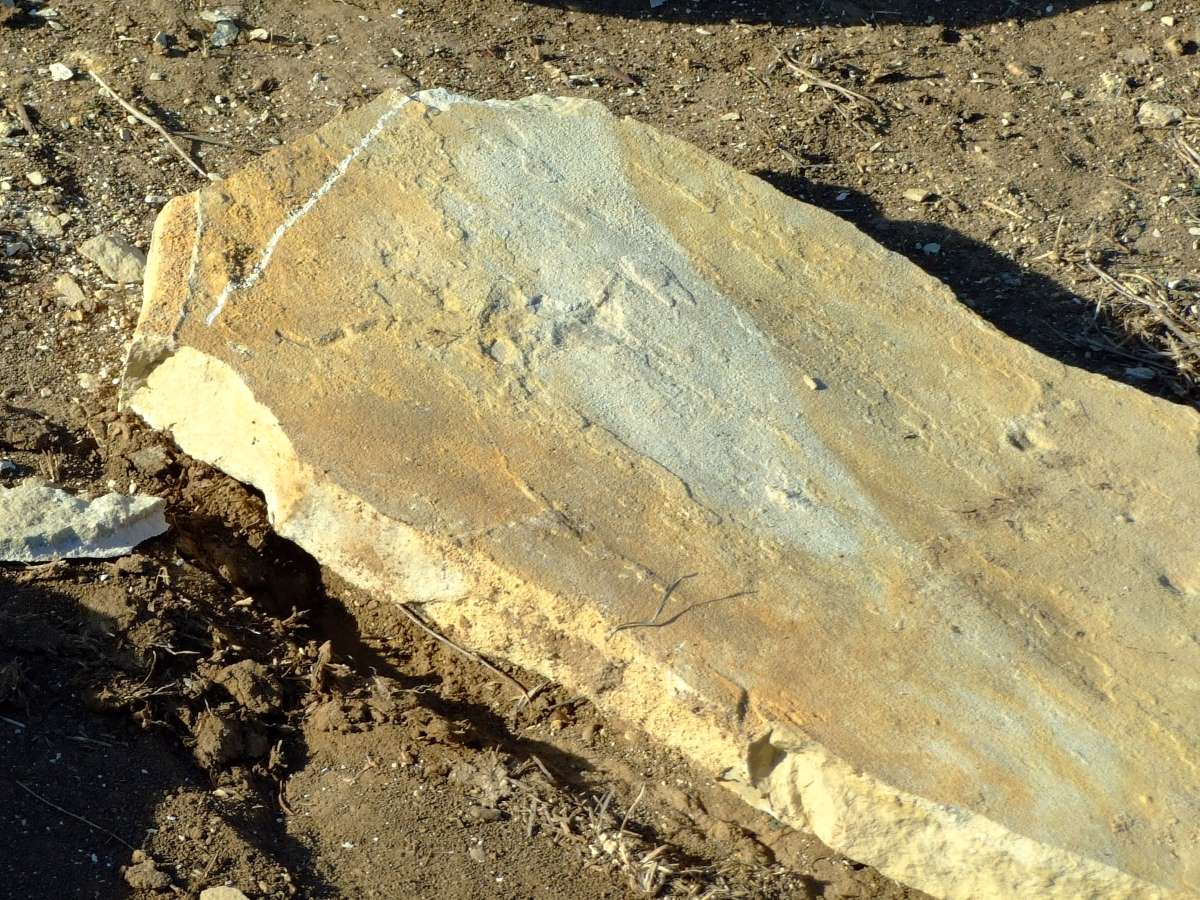
Finally, here is what we ended up with. Though not perfect, the cut is very close and straight. Generally, from here you would trial fit the rock and do any more fine tuning as needed. Typically, all that would need to be done is further wearing down of a couple of points on the rock being cut to ensure a perfect fit.
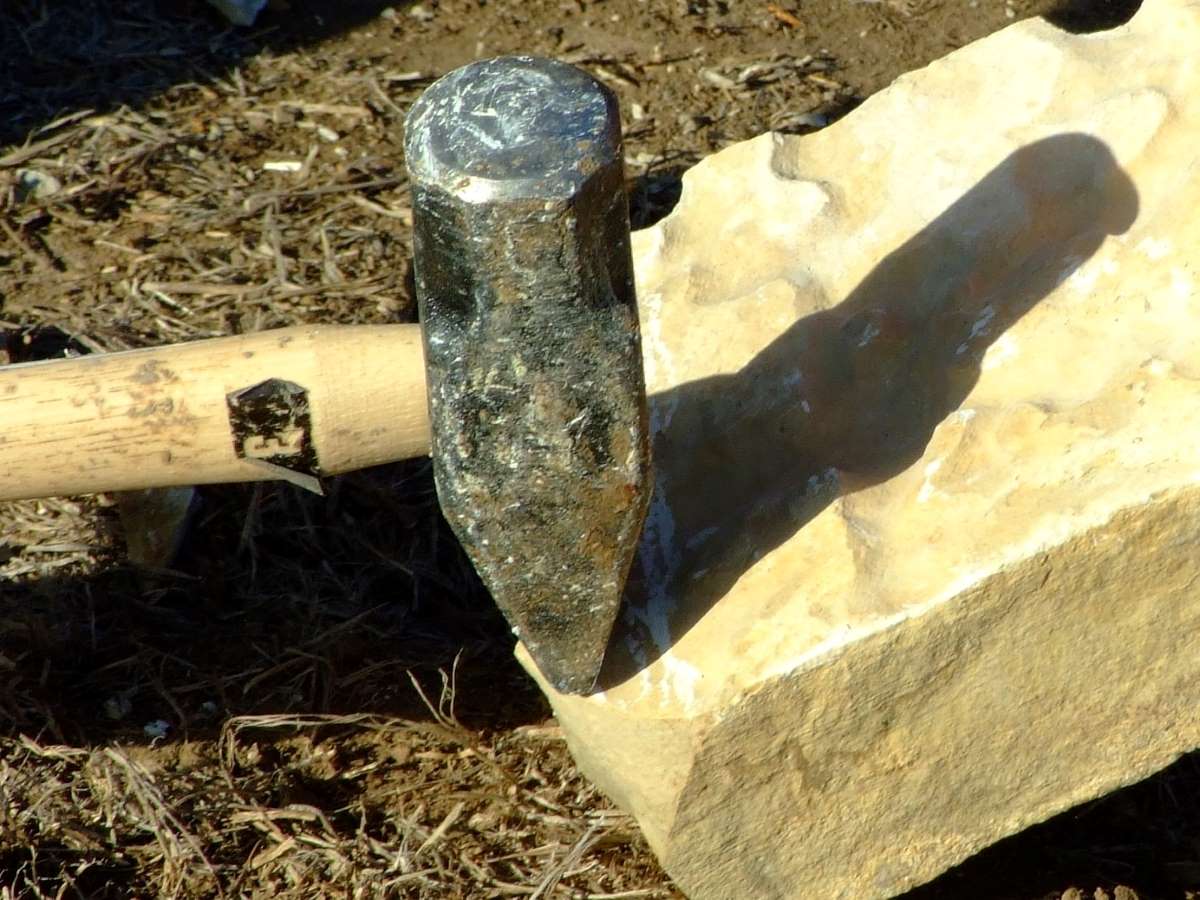
To cut a large rock, we used a 3-lb peen hammer for the initial cut with the bricklayer’s hammer doing the fine tuning. To cut, a good, solid blow with the tapered end of the peen hammer while the rock is placed on end will often do a surprisingly good job for an initial cut. It helps your aim, by the way, to gently rest the tapered end of the hammer on the place where you want to cut, then lift the hammer and then strike.
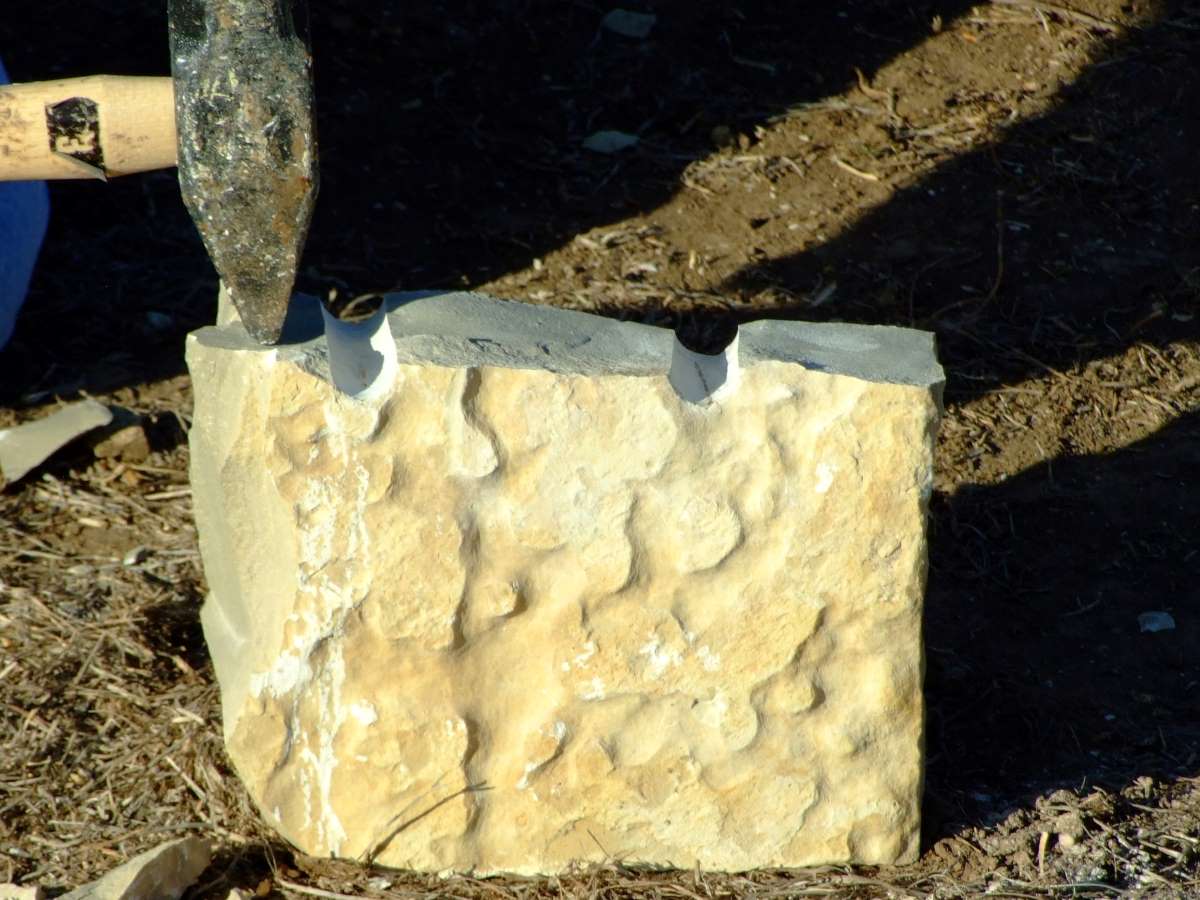
This means of hammer cutting works rather similarly to using the bricklayer’s hammer. One thing we found we could usually do when cutting thick stones with the peen hammer is to use the tapered end to chip off protrusions while striking from the thin side of the stone; you can only go so far here, but it does make the fine tuning with the bricklayer’s hammer go easier.
Fine tuning is done with the bricklayer’s hammer as normal, though you may find that the blunt end of the hammer is more effective in this case. For really obstinate rocks, you can occasionally use the blunt end of the peen hammer to advantage during fine tuning.
